With Blender you can bake the lights using the Cycles renderer onto light maps. For static geometry, you can get some really nice lighting with diffuse bounces for your models. This posting roughly describes how to achieve this.
Baking requires quite a bit of computational power. It's best to do this on the GPU if you have a fast GPU. If you have an nVidia card, you can use OpenCL to accelerate these computations. Some caveats here: Don't use Ubuntu's blender package: it does not come with OpenCL support. Instead download Blender directly from the Blender site. Next, there is this really quirky bug: Blender cannot find the OpenCL devices if you do not first run a session as root. As root, start blender, then in User Preferences / System, set the render device to OpenCL. Then change the Renderer to Cycles Renderer, and render the cube. Now you can quit Blender and restart it again as a normal user.
Open a new project, go to User Preferences and choose the OpenCL device. Then set the Renderer to 'Cycles Renderer' at the top of the screen. Import the geometry you want process. I find it best to split the geometry per material.
Add some light to your scene. I find that an inverted hemi sphere works fine. Create a new material for this sphere, and make it Emissive (Use Nodes) and you can see the material in the Node Editor. If you want to avoid Light Fall Off, you can add a Light FallOff node, and feed it into the 'strength' with the Constant output.
For each object, Blender will probably have created its own material. Click on 'Use Nodes.' You need to add an unconnected Texture node to the Node View for each material, and give it a newly created texture.
For each of the objects do the following: select it in the 3D view, then go to Edit Mode. When in Edit Mode, under Mesh menu, choose UV Smart Unwrap. Select a small spacing (e.g 0.03).
In the Properties view, select Render, and then set the renderer to GPU computation.
In the Properties view, select Render, and open the Sampling section. You need to increase the sample count to something suitable. You can check the quality by executing a render with F12.
Now in the 3D view, use Object Mode, to select all objects.
In the Properties / Render menu, select Bake to bake out to all light maps attached to the selected objects. You can select what light to bake. I use Combined, but if you want, you can bake Diffuse Indirect only.
After the baking, change the 3D view to the UV Image view, and see what the light maps look like. To see the light maps applied, you can set the 3D View viewing mode from Solid to Textured.
Each Light Map needs to be saved to disk. View it in the UV Image view, and then press F3 and save it out as PNG some where.
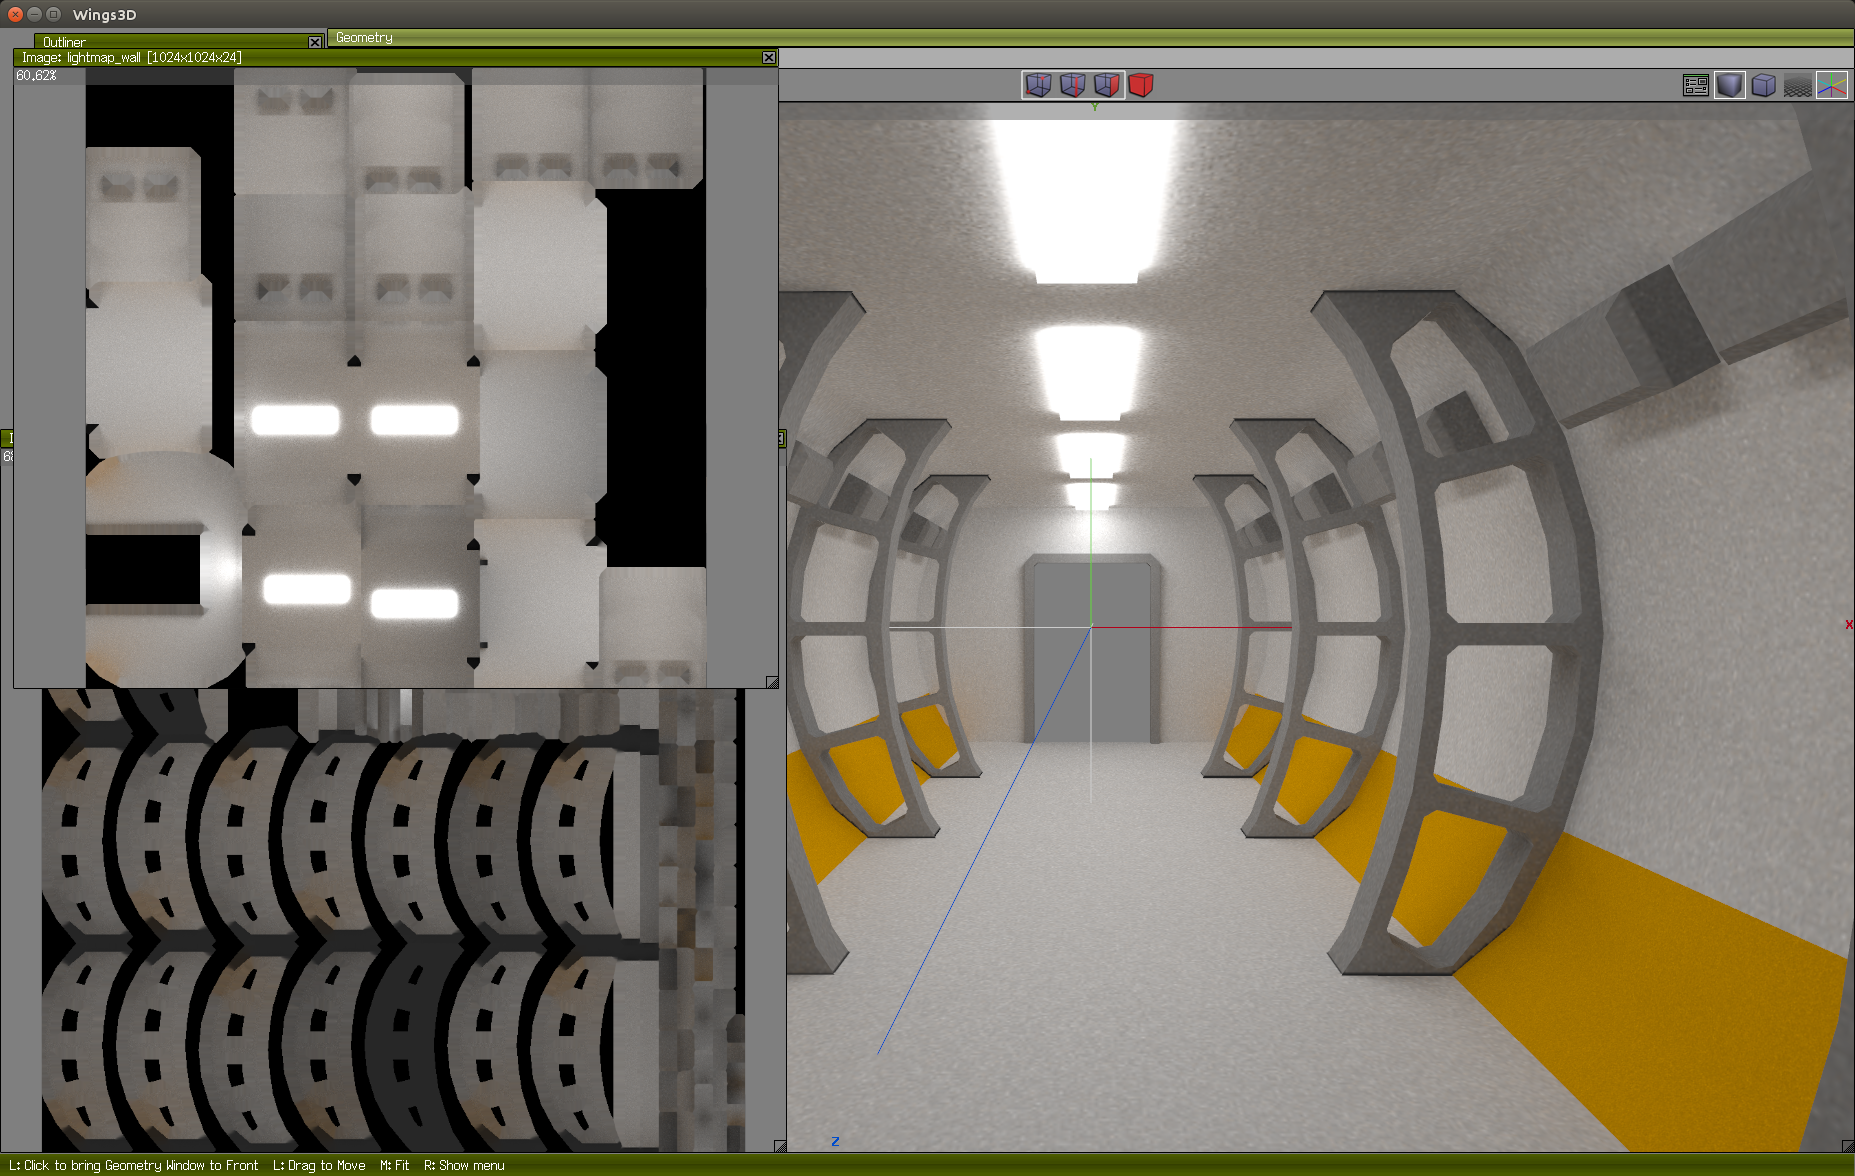
Lastly, do not forget to save the blender project, and export the model again, I use Wavefront OBJ, so that the UV coordinates for the lightmaps get saved. You can use the Wings3D editor to see the results. For this, add Ambient light, and set all materials to Ambient 1,1,1,1 and Diffuse 0,0,0,0.